


How to Clean Pavers Without Damaging Them
A dirty paver patio can turn green, stained, and slippery faster than most homeowners expect. The challenge is cleaning the surface effectively without damaging the pavers or unnecessarily removing sand from the joints.
In this guide, we'll explain how to clean pavers safely, choose the right cleaning method, treat common stains, protect the joints, and determine when professional paver cleaning may be the better option.
At Performance Pressure Wash, we use the cleaning method that fits the paver surface, condition, and type of buildup rather than relying on one method for every property.
Table of Contents
Step 1: Prepare the Pavers and Protect Nearby Surfaces
Step 2: Choose the Right Cleaning Method and Solution
Step 3: Treat Stains and Clean the Paver Surface
Step 4: Rinse Thoroughly and Restore the Joints
Step 5: Seal the Pavers and Set a Maintenance Schedule
FAQ
Step 1: Prepare the Pavers and Protect Nearby Surfaces
Good preparation keeps the cleaning job under control. Start by removing furniture, planters, toys, and loose items from the area.
Sweep the pavers with a stiff broom. A leaf blower also works well for dry leaves and loose debris. Pay close attention to the joints because packed dirt can hide low sand levels, weeds, or areas that need repair.
Next, inspect the surface. Look for cracked or loose pavers, settled areas, damaged joints, and places where water pools. Identify nearby features such as painted surfaces, outdoor lights, pool equipment, landscaping, and metal finishes that may need protection.
Wet nearby plants with clean water before applying cleaning products. Cover sensitive items when necessary, and keep cleaning runoff away from storm drains, pools, and ponds.
Never mix cleaning chemicals.Always read and follow the product label before using a cleaning solution.
Test a small area first and use the gentlest cleaning method that can effectively do the job.
Allow the test area to dry before evaluating the result because some color changes are difficult to see while the surface is wet.
At Performance Pressure Wash, we protect walls, landscaping, pool areas, and other nearby surfaces before cleaning begins. This is especially important in Central Florida, where frequent rain and humidity can contribute to organic growth and move loose dirt or cleaning solution across a property.
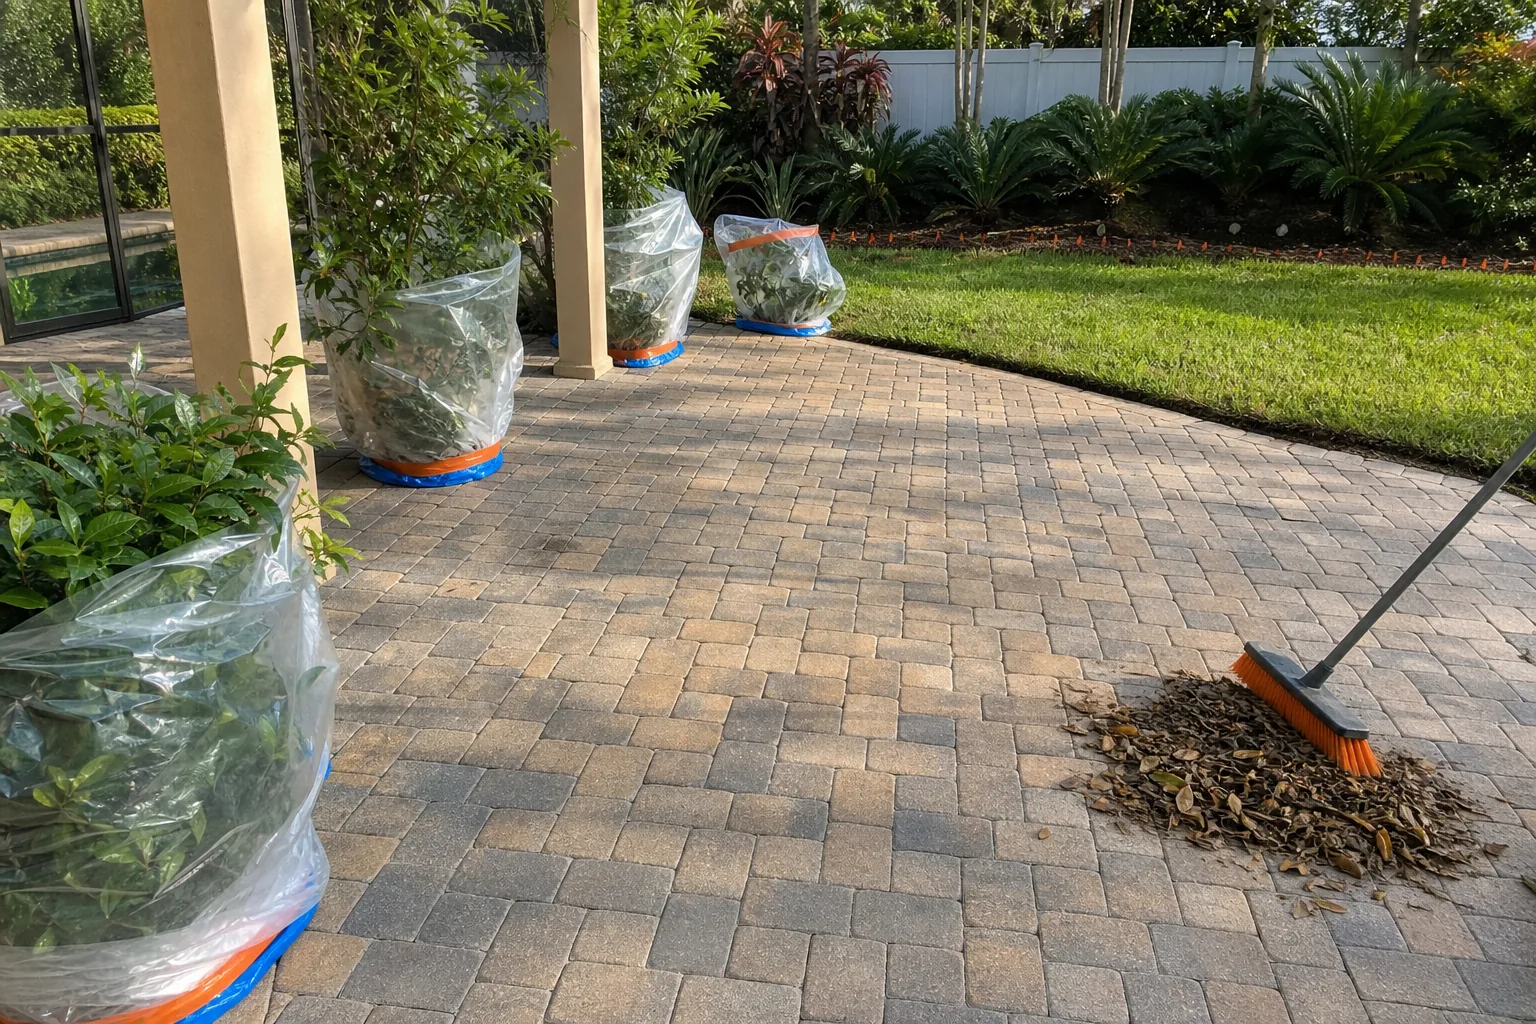
Key Takeaway: Sweep first, inspect the surface, test the cleaning method, and protect nearby surfaces before beginning the full cleaning process.
Step 2: Choose the Right Cleaning Method and Solution
How you should clean pavers depends on the type of paver, the condition of the surface, the age of the installation, and the type of staining or buildup.
The goal is not simply to use the highest pressure possible. The goal is to use enough cleaning power to remove the buildup without unnecessarily damaging the paver surface or joints.
A garden hose can be sufficient for light dust and fresh dirt. Manual brushing can provide additional cleaning power for smaller areas.
For larger areas with heavier buildup, professional equipment can make the process faster and more consistent. A surface cleaner can be useful when the pressure, nozzle selection, speed, and distance are properly controlled.
For algae, mildew, moss, and other organic growth, use a cleaning product appropriate for the specific surface and follow the manufacturer's directions. Test the product before treating the entire area and protect nearby landscaping and sensitive surfaces.
Different stains may require different approaches. Oil, rust, organic growth, and mineral deposits should not automatically be treated with the same cleaning solution.
Avoid using strong acids simply because they appear to provide faster results. Improper acid use can damage pavers, affect surrounding surfaces, harm plants, and create safety concerns.
Cleaning MethodBest UseMain Consideration | ||
Manual cleaning | Dust, soil, and light grime | Excessive scrubbing can disturb joint sand |
Gentle rinsing | Loose dirt and cleaner removal | Direct spray can wash out joints |
Surface cleaner | Larger areas with heavier buildup | Pressure and movement must be controlled |
Heated-water cleaning | Certain grease and stubborn buildup | Temperature must be appropriate for the surface |
Specialized stain treatment | Rust, oil, and other specific stains | The product must be appropriate for the stain and surface |
Low or controlled pressure can be useful around delicate areas and joints, butpaver cleaning does not automatically mean avoiding pressure altogether. The correct pressure, nozzle, equipment, cleaning solution, and technique depend on the surface.
At Performance Pressure Wash, we adjust the cleaning process to the condition of the pavers. Depending on the situation, that may include soft washing, controlled pressure washing, brushing, heated water, or specialized cleaning solutions.
The right cleaning method depends on the surface and the problem being treated.
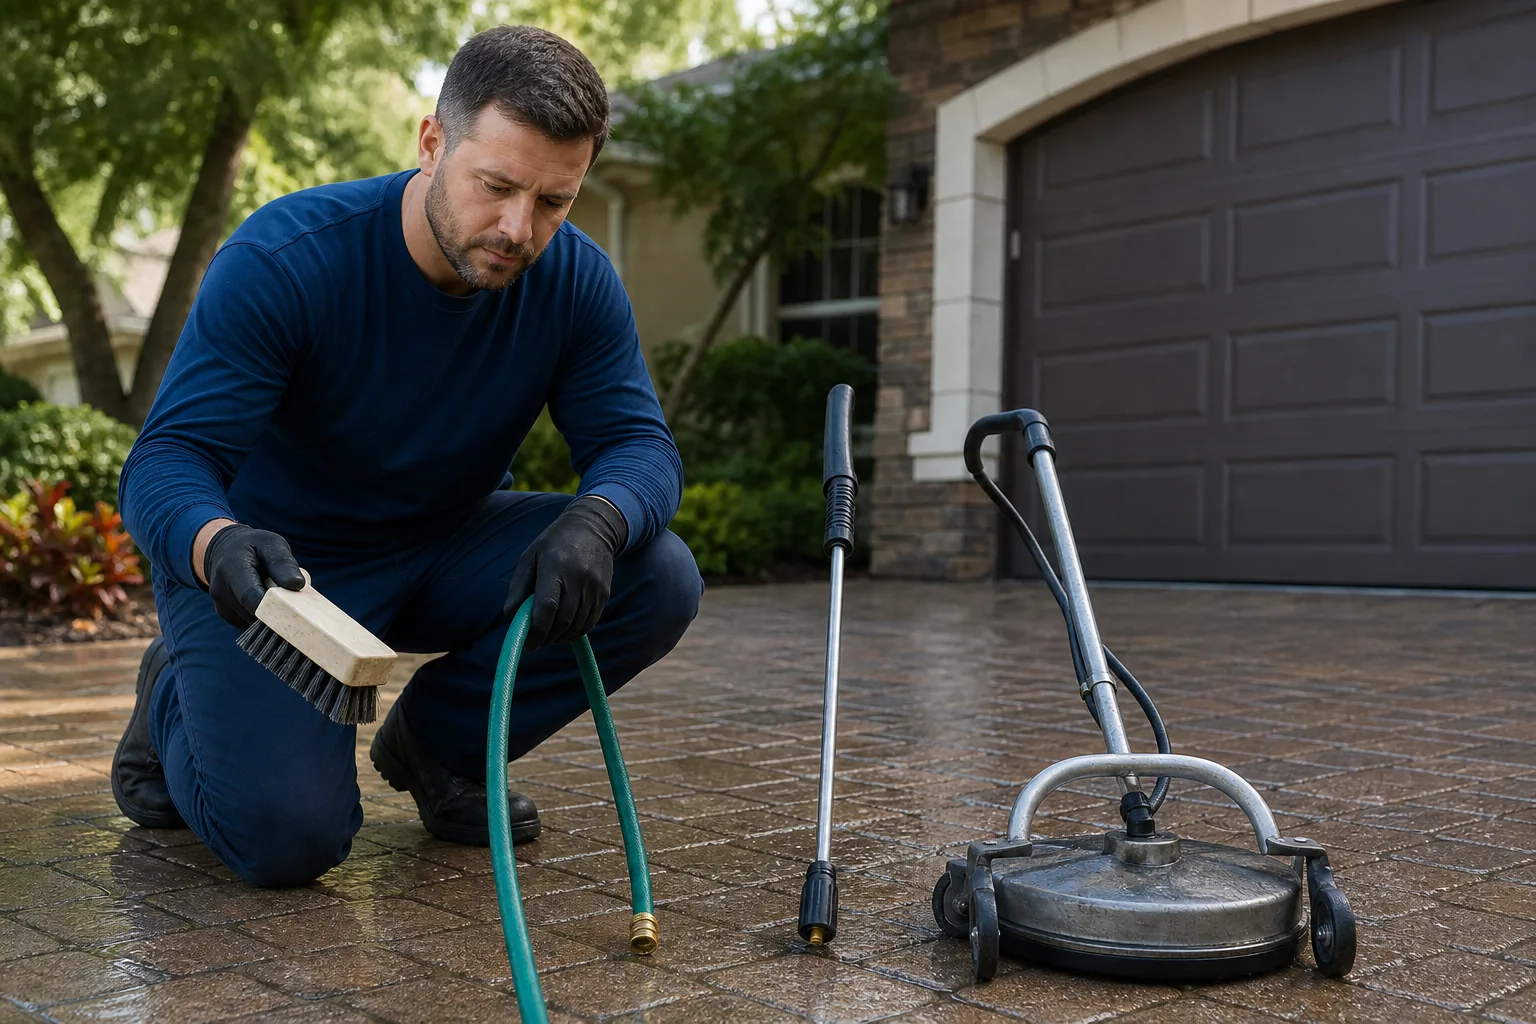
Step 3: Treat Stains and Clean the Paver Surface
Once you choose the appropriate method, work in manageable sections. This makes it easier to control the cleaning solution and prevents products from drying on the surface when they are not supposed to.
Apply the appropriate cleaner according to the product directions. Allow it to dwell for the recommended amount of time and keep the surface wet when required.
For mold, mildew, algae, moss, and other organic growth, allow the cleaning solution time to break down the growth before rinsing. In Central Florida, shade, humidity, and frequent rain can contribute to organic growth returning over time, so regular maintenance may be necessary.
Oil requires a different approach. Blot fresh oil instead of spreading it across the pavers. Use an absorbent material when appropriate, followed by a product specifically designed for oil stains. Old or baked-in oil may require multiple treatments.
For additional information, compare these oil stain removal options before choosing a treatment.
Rust stains should be treated with a product designed specifically for rust removal and appropriate for the paver surface.
Efflorescence—the white mineral haze that can appear on masonry and pavers—may improve naturally as moisture leaves the surface. Avoid immediately using aggressive acid treatments without first determining whether the treatment is appropriate for the paver.
When using a surface cleaner, keep it level and move it at a consistent speed. Avoid stopping in one location because uneven movement can create visible cleaning patterns.
For edges and tight areas, a wand can be useful, but avoid directing a narrow, concentrated spray directly into the joints. Excessive pressure in the joints can remove sand and create additional work after cleaning.
At Performance Pressure Wash, we adjust the process to the surface. We may use soft washing, controlled pressure, brushing, or heated water depending on the condition of the pavers and the type of buildup.
Pro Tip:Take a photo of your test area after it dries. This gives you a much better comparison before cleaning the entire surface.
Step 4: Rinse Thoroughly and Restore the Joints
Rinsing is an important part of cleaning pavers safely. Do not rush this step.
Rinse from the higher portion of the area toward a safe drainage point. Use broad, controlled passes and avoid directing concentrated water straight down between the pavers.
Check corners, steps, edges, and other areas where dirty water or cleaning solution can collect.
Inspect the surface while it is still damp. Missed stains may be easier to identify at this stage, allowing you to treat only the areas that need additional attention rather than applying more cleaning solution everywhere.
If weeds are present, remove light growth carefully. Larger areas of unwanted vegetation may require a product specifically labeled for the intended application. Always consider nearby landscaping and drainage when treating weeds.
Moss can be removed from joints carefully by hand when practical. Work along the joint rather than aggressively across the paver face.
After cleaning, allow the joints to dry completely. If cleaning removed joint sand, restore the joints with an appropriate sand product.
Polymeric sand requires the correct joint depth and proper installation and watering according to the manufacturer's directions.
Do not re-sand while the joints are still holding water.Shaded areas may require additional drying time.
If pavers are shifting, the base has failed, or the joints are severely eroded, cleaning alone will not correct the underlying problem.
Our paver driveway cleaning service focuses on controlled cleaning and surface protection to help homeowners avoid replacing one problem with another.
Step 5: Seal the Pavers and Set a Maintenance Schedule
Sealing is optional, but it can make future maintenance easier when the pavers are properly cleaned, dry, stable, and ready for the sealer being used.
Do not rush the sealing process.
Pavers and joint sand should be completely dry before sealer is applied. Moisture trapped beneath a sealer can contribute to clouding, uneven appearance, or curing problems.
Different sealers can produce different appearances. Some are designed to maintain a more natural look, while others can enhance the color of the pavers.
The correct product also matters around pools and other areas where slip resistance is important. Follow the manufacturer's recommendations for the intended application.
Do not seal over oil, algae, efflorescence, failing old sealer, or damp joint sand. Sealing over an existing problem can trap the issue beneath the coating and make future restoration more difficult.
New polymeric sand also needs adequate time to cure before sealing. Always follow the sand and sealer manufacturer's instructions for curing, weather, temperature, and application conditions.
Simple Paver Maintenance Plan
Sweep leaves and dirt regularly, especially beneath trees.
Clean oil, food, and pet spills as soon as possible.
Inspect weeds and joint sand regularly.
Rinse high-traffic areas before heavy buildup develops.
Schedule deeper cleaning when algae, mildew, or heavy staining returns.
Check sealed pavers periodically for changes in water beading or appearance.
Central Florida properties often require regular attention because rain, pollen, shade, and humidity can keep outdoor surfaces damp and encourage organic growth.
Instead of promising a fixed cleaning or sealing interval for every property, maintenance should be based on the property's exposure, shade, traffic, drainage, and overall condition.
Homeowners can learn more about our paver sealing service in Orlando when their pavers are clean, dry, stable, and ready for consideration of a sealer.
Key Takeaway:Clean the pavers first, rinse carefully, allow the joints to dry completely, restore missing sand when necessary, and only then determine whether sealing is appropriate.
FAQ
What is the safest way to clean pavers?
The safest approach is to start with sweeping, inspect the surface, test the cleaning method, and use controlled cleaning and rinsing. Avoid directing concentrated water into the joints and use cleaning products according to their labels.
If the pavers are old, stained, loose, or located near a pool or delicate landscaping, a professional assessment can help prevent avoidable damage.
Can I use a cleaning product to clean pavers?
Some cleaning products can be used on pavers, but the product must be appropriate for the surface and the type of stain being treated.
Always test the product first and follow the manufacturer's directions. Protect nearby plants and sensitive surfaces, and never mix cleaning products.
How do I clean oil stains from pavers?
Start by absorbing fresh oil rather than spreading it. Then use a stain-removal product appropriate for the paver and the type of oil stain.
Old or baked-in oil may require repeated treatment. Rinsing alone usually will not remove a deep oil stain.
Will pressure washing remove the sand between pavers?
Pressure washing can remove joint sand when the pressure is excessive, the nozzle is too close, or the spray is directed directly into the gaps.
Use controlled pressure, maintain an appropriate distance, and avoid concentrating the spray in the joints. After cleaning, allow the joints to dry before replacing missing sand.
Should I seal pavers after cleaning?
Sealing is optional. If you decide to seal the pavers, they should first be clean, dry, stable, and free of stains and other problems.
The type of sealer affects the final appearance and may affect traction, so the product should be selected based on the paver type and how the area is used.
How often should pavers be cleaned?
There is no single cleaning schedule that works for every property.
Sweep and inspect the surface regularly, and schedule deeper cleaning when dirt, algae, mildew, weeds, or staining begin to return.
Central Florida patios may need more frequent attention because rain, humidity, shade, and organic growth can accelerate buildup.
Final Thoughts
For most homeowners, the right approach iscareful preparation, appropriate cleaning, controlled rinsing, and proper joint maintenance. Sealing should only be considered after the pavers and joints are fully ready.
If stains are deeply embedded, the pavers are heavily soiled, or the joints need significant restoration, consider getting a professional assessment before attempting aggressive chemicals or excessive pressure.
Performance Pressure Wash provides professional paver cleaning and paver sealing services throughout Central Florida.Contact us for a free estimate and let us help determine the appropriate cleaning approach for your pavers.


Comments